The Ultimate
Safely Deconstructing Your Garden Building
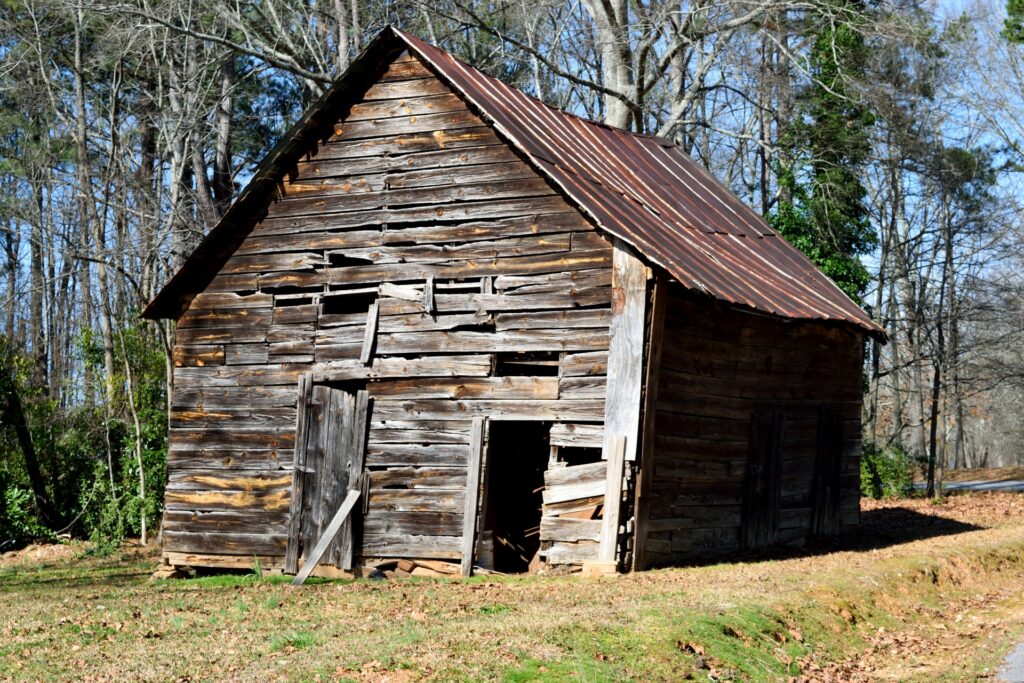
Is your old timber outhouse looking a bit worse for wear? You aren’t alone. In the UK, untreated softwoods generally last just 5 to 10 years before rot sets in, leading thousands of homeowners each year to face the task of garden deconstruction. While breaking down an old panel structure might seem straightforward, it requires proper planning to prevent injury and manage waste responsibly.
This comprehensive Guide to Shed Dismantling covers everything you need to prepare your workspace, execute a safe teardown, and dispose of your leftover timber sustainably.
Part 1: How to Prepare for Your Project
Before you grab a crowbar, adequate preparation is critical for a smooth and accident-free process.
Clear the Workspace and Gather Tools
Empty the entire contents of the structure. Take this opportunity to sort through your items, separating hazardous lawn chemicals and old electronics from standard tools. According to Defra’s UK waste statistics, the UK generates millions of tonnes of commercial and household waste annually, meaning proper segregation at the source is vital to keep recyclable materials out of landfills.
Ensure you have the right equipment on hand:
- Crowbar and claw hammer
- Screwdriver or power drill
- Hand saw or reciprocating saw
- Heavy-duty work gloves and safety goggles
- Sturdy boots (to protect against stray nails)
Structural Safety Inspection
Examine the roof and floorboards for structural weak spots. If the timber is heavily water-logged or spongy, it could collapse unexpectedly. Take note of how the panels are fastened; older structures are often held together with rusted nails, while modern ones use screws that are much easier to back out safely.
Part 2: Step-by-Step Guide to Shed Dismantling
When it comes to the physical teardown, working in reverse order of the original assembly is the safest strategy. Never try to push a standing structure over all at once, as this creates an unpredictable and highly dangerous collapse zone.
1.Remove the Doors and Windows:Step 1.
Unscrew the hinges to remove the doors first. Carefully pry out window panes or unscrew the window frames. Removing fragile glass early prevents it from shattering during the main structural teardown.
2.Strip the Roof Felt and Sheathing:Step 2.
Climb a secure ladder and peel away the bitumen roofing felt. Next, unscrew or pry up the roof boards (sheathing) from the main supporting rafters. Work from the outside edges inward.
3.Deconstruct the Wall Panels:Step 3.
Support the individual walls using timber braces so they do not fall. Unfasten the corners where the panels meet. With a helper, carefully lower each wall panel one by one down to the ground.
4.Break Up the Floor and Base:Step 4.
Once the walls are gone, pry up the floorboards from the floor joists. If the timber base is sitting on concrete bearers or directly on the ground, lift the joists out last.
Part 3: Waste Management and Sustainable Disposal
Once your teardown is complete, you will likely be staring at a massive pile of wood, felt, and rusted hardware. Managing this responsibly is the final crucial step.
+--------------------------------------------------------------+
|                AVERAGE DISPOSAL BREAKDOWN                    |
|                                                              |
|  [ Timber Panels ]  =========> 75%   Recyclable / Biomass    |
|  [ Roofing Felt ]   ====> 15%        Non-Recyclable Landfill |
|  [ Metal Hardware ] ==> 10%          Scrap Metal Recycling   |
+--------------------------------------------------------------+
Navigating Your Local Disposal Options
You have a few primary avenues for managing your leftover breakdown debris:
- Household Waste Recycling Centres (HWRCs): Most local municipal sites accept clean DIY wood waste. Be sure to check your local council guidelines first, as reported by outlets like the BBC, because many councils now restrict or charge for structural DIY waste drop-offs.
- Professional Skip Hire: If you are dealing with a large footprint or multiple garden structures, hiring a skip provides a convenient on-site collection point.
- Specialist Recycling Services: Using a dedicated service ensures that your treated timber is handled in line with environmental regulations, aiming to recycle or recover as much material as possible.
Environmental Tip: Never burn treated or painted timber in your garden. The chemical preservatives (like copper, chrome, or arsenic used in older pressure-treated woods) release highly toxic fumes into the air when combusted.
By following this structural Guide to Shed Dismantling, you can safely transform an aging garden eyesore into cleanly sorted, recyclable materials while protecting yourself and your garden space.